nameserver DNS gireceğiniz bölüm, domain sizin alan adınız.
Google: 8.8.8.8, 8.8.4.4
OpenNIC: 217.12.203.133, 31.171.155.107
1
2
3
4
5
6
7
8
9
cat> /etc/resolv.conf << "EOF"# Begin /etc/resolv.conf
domain <Your Domain Name>
nameserver <IP address of your primary nameserver>
nameserver <IP address of your secondary nameserver>
# End /etc/resolv.conf
EOF
hosts
1
2
3
4
5
6
7
8
9
10
11
# <lfs> yerine kendi bilgisayar adınızı yazacaksınızecho"<lfs>"> /etc/hostname
cat> /etc/hosts << "EOF"# Begin /etc/hosts (network card version)
127.0.0.1 localhost
# <192.168.1.1> <HOSTNAME.example.org> [alias1] [alias2 ...]# End /etc/hosts (network card version)
EOF
# Begin /etc/sysconfig/clockUTC=1
# Set this to any options you might need to give to hwclock,# such as machine hardware clock type for Alphas.CLOCKPARAMS=# End /etc/sysconfig/clock
console
1
2
3
4
5
6
# Begin /etc/sysconfig/consoleKEYMAP="trq"FONT="iso09.16"# End /etc/sysconfig/console
profile
1
2
3
4
5
6
7
cat> /etc/profile << "EOF"# Begin /etc/profileexport LANG=tr_TR.utf8
# End /etc/profile
EOF
cat> /etc/inputrc << "EOF"# Begin /etc/inputrc# Modified by Chris Lynn <[email protected]># Allow the command prompt to wrap to the next lineset horizontal-scroll-mode Off
# Enable 8bit inputset meta-flag On
set input-meta On
# Turns off 8th bit strippingset convert-meta Off
# Keep the 8th bit for displayset output-meta On
# none, visible or audibleset bell-style none
# All of the following map the escape sequence of the value# contained in the 1st argument to the readline specific functions"\eOd": backward-word
"\eOc": forward-word
# for linux console"\e[1~": beginning-of-line
"\e[4~": end-of-line
"\e[5~": beginning-of-history
"\e[6~": end-of-history
"\e[3~": delete-char
"\e[2~": quoted-insert
# for xterm"\eOH": beginning-of-line
"\eOF": end-of-line
# for Konsole"\e[H": beginning-of-line
"\e[F": end-of-line
# End /etc/inputrc
EOF
shells
1
2
3
4
5
6
7
8
cat> /etc/shells << "EOF"# Begin /etc/shells
/bin/sh
/bin/bash
# End /etc/shells
EOF
fstab
Bu dosya önemli. Bu dosya sizin disk bölümlerinizi bağlayacak olan dosya. En başta nasıl planladıysanız ona göre düzenleyin.
Çekirdeği kendinize göre düzenleyeceksiniz. Kesinlikle yapmamız gereken bir düzenlemeyi kitabımız bize söylüyor. Onun dışında eğer siz de benim gibi USB’ye kuruyorsanız ve versiyon 3.0 ise çekirdekte aktifleştirin.
Device Drivers —>
—>Generic Driver Options —>
—>—>[ ] Support for uevent helper [CONFIG_UEVENT_HELPER]
—>—>[*] Maintain a devtmpfs filesystem to mount at /dev [CONFIG_DEVTMPFS]
cd /sources
tar xvf linux-3.19.tar.xz
cd linux-3.19
make mrproper
make LANG=tr_TR LC_ALL= menuconfig
make
make modules_install
cp -v arch/x86/boot/bzImage /boot/vmlinuz-3.19-lfs-7.7
cp -v System.map /boot/System.map-3.19
cp -v .config /boot/config-3.19
install -d /usr/share/doc/linux-3.19
cp -r Documentation/* /usr/share/doc/linux-3.19
install -v-m755-d /etc/modprobe.d
cat> /etc/modprobe.d/usb.conf << "EOF"# Begin /etc/modprobe.d/usb.conf
install ohci_hcd /sbin/modprobe ehci_hcd ; /sbin/modprobe -i ohci_hcd ;true
install uhci_hcd /sbin/modprobe ehci_hcd ; /sbin/modprobe -i uhci_hcd ;true# End /etc/modprobe.d/usb.conf
EOF
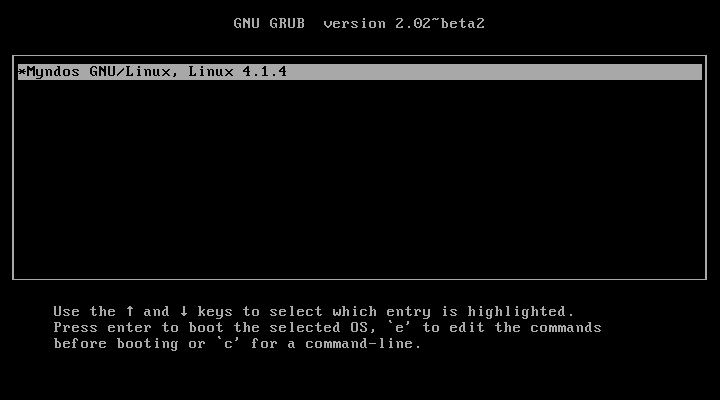
Grub Yapılandırması
İsterseniz grubu kullandığınız sistemden güncelleyin fakat ben kitaba uygun gidiyorum.
1
2
3
4
5
6
7
8
9
10
11
12
13
14
grub-install /dev/sdX# x'i siz dolduracaksınız

cat > /boot/grub/grub.cfg << "EOF"
# Begin /boot/grub/grub.cfg
set default=0
set timeout=5

insmod ext2
set root=(hd0,X)

menuentry "GNU/Linux, Linux 3.19-lfs-7.7" {
        linux   /boot/vmlinuz-3.19-lfs-7.7 root=/dev/<xxx> ro
}
EOF
Chroot ile son ayarlar
LFS bilgilerimizi kaydediyoruzve gurularımız şu formu doldurmamızı rica ediyorlar. lfscountername->adınız, version->7.7, SVN date->boş
1
2
3
4
5
6
7
8
echo 7.7 > /etc/lfs-release# LFS sürümümüzü kaydediyoruz
cat> /etc/lsb-release << "EOF"DISTRIB_ID="Linux From Scratch"DISTRIB_RELEASE="7.7"DISTRIB_CODENAME="<your name here>"DISTRIB_DESCRIPTION="Linux From Scratch"
EOF
Artık bilgisayarımızı yeniden başlatabiliriz. Baya sorunlu bir boot süreci yaşadığım için ben çekirdeği güncelledim. Zaten siz de nasıl yapacağınızı biliyorsunuz. Eğer açılışta bir sorunla karşılaşırsanız lütfen bana fotoğrafını gönderin. Ya grub.cfg ya da kernel sorunu çıkıyor. Yardımcı olmaya çalışırım.